DIY Snow Globes
- Dec 19, 2025
- 1 min read
Supplies
Clear plastic snow globe jars (with screw-on lids)
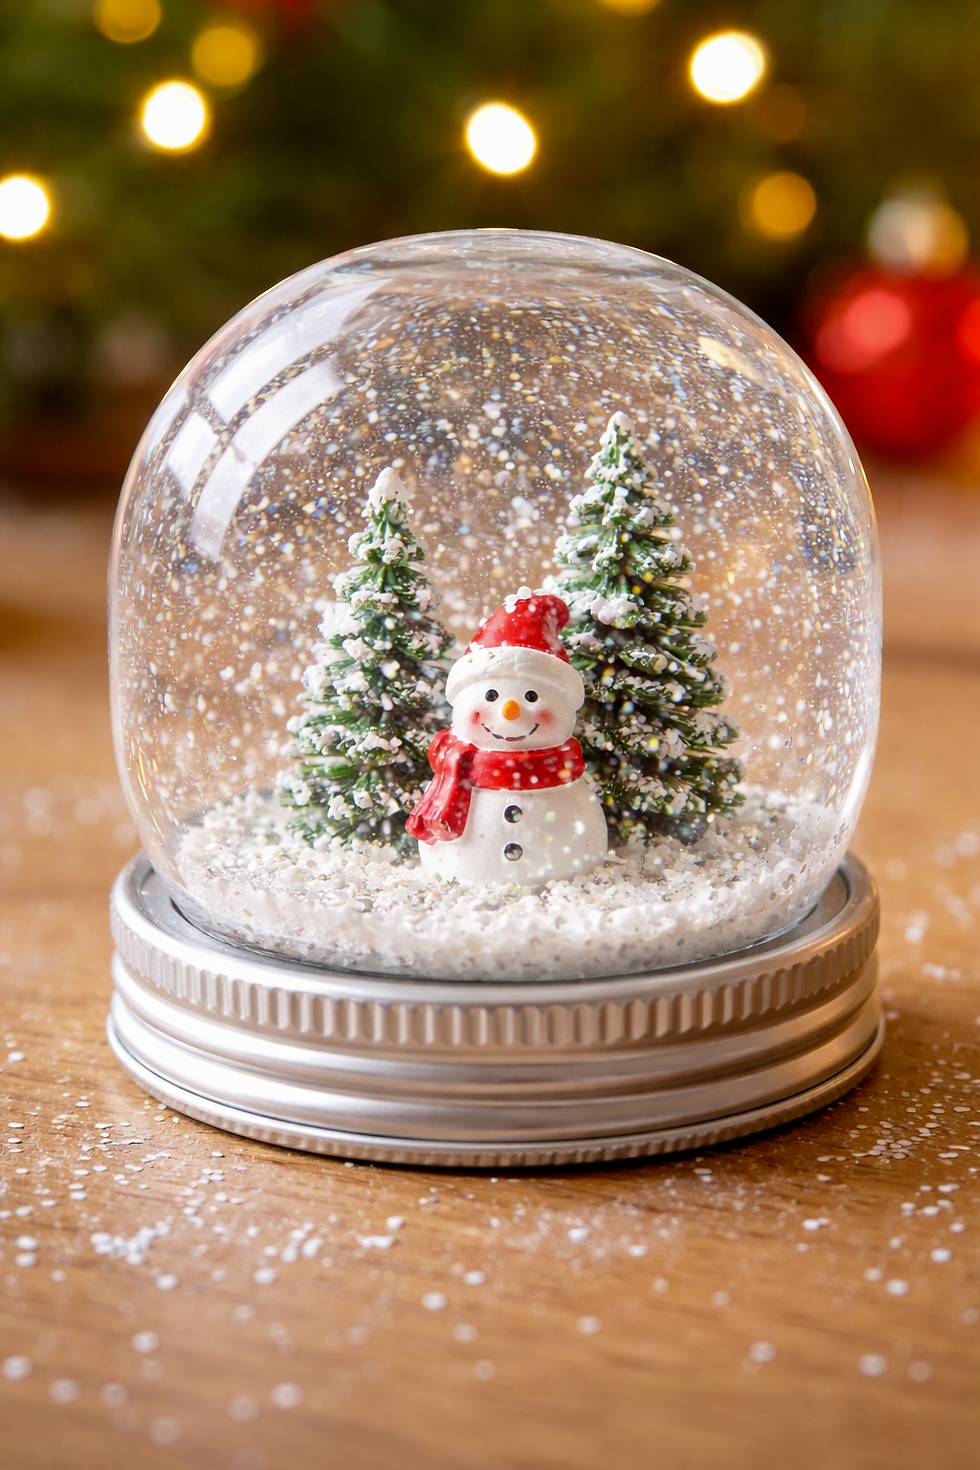
Small Christmas figurines or scenes (trees, snowmen, reindeer, etc.)
Hot glue gun (staff use only)
Glue sticks
Water
Glitter (silver, white, or festive colours work best)
Optional: glycerine or clear glue (to slow the glitter fall)
Paper towels / cloths for spills
Trays or tubs to work over
Steps
Prepare the LidRemove the lid from the snow globe and place it upside down on the table.
Attach the Christmas SceneUsing a hot glue gun, glue the Christmas figurine securely to the inside centre of the lid.Hold in place for a few seconds until fully set.
Fill the GlobeFill the globe almost to the top with water, leaving a small gap to prevent overflow.
Add GlitterAdd a small pinch of glitter (a little goes a long way!).Optional: add 1–2 drops of glycerine or clear glue to help the glitter float more slowly.
Seal the Snow GlobeCarefully screw the lid (with the scene attached) tightly onto the globe.Wipe away any excess water.
Test & ShakeTurn the snow globe upright and gently shake to create a snowy effect.


Comments