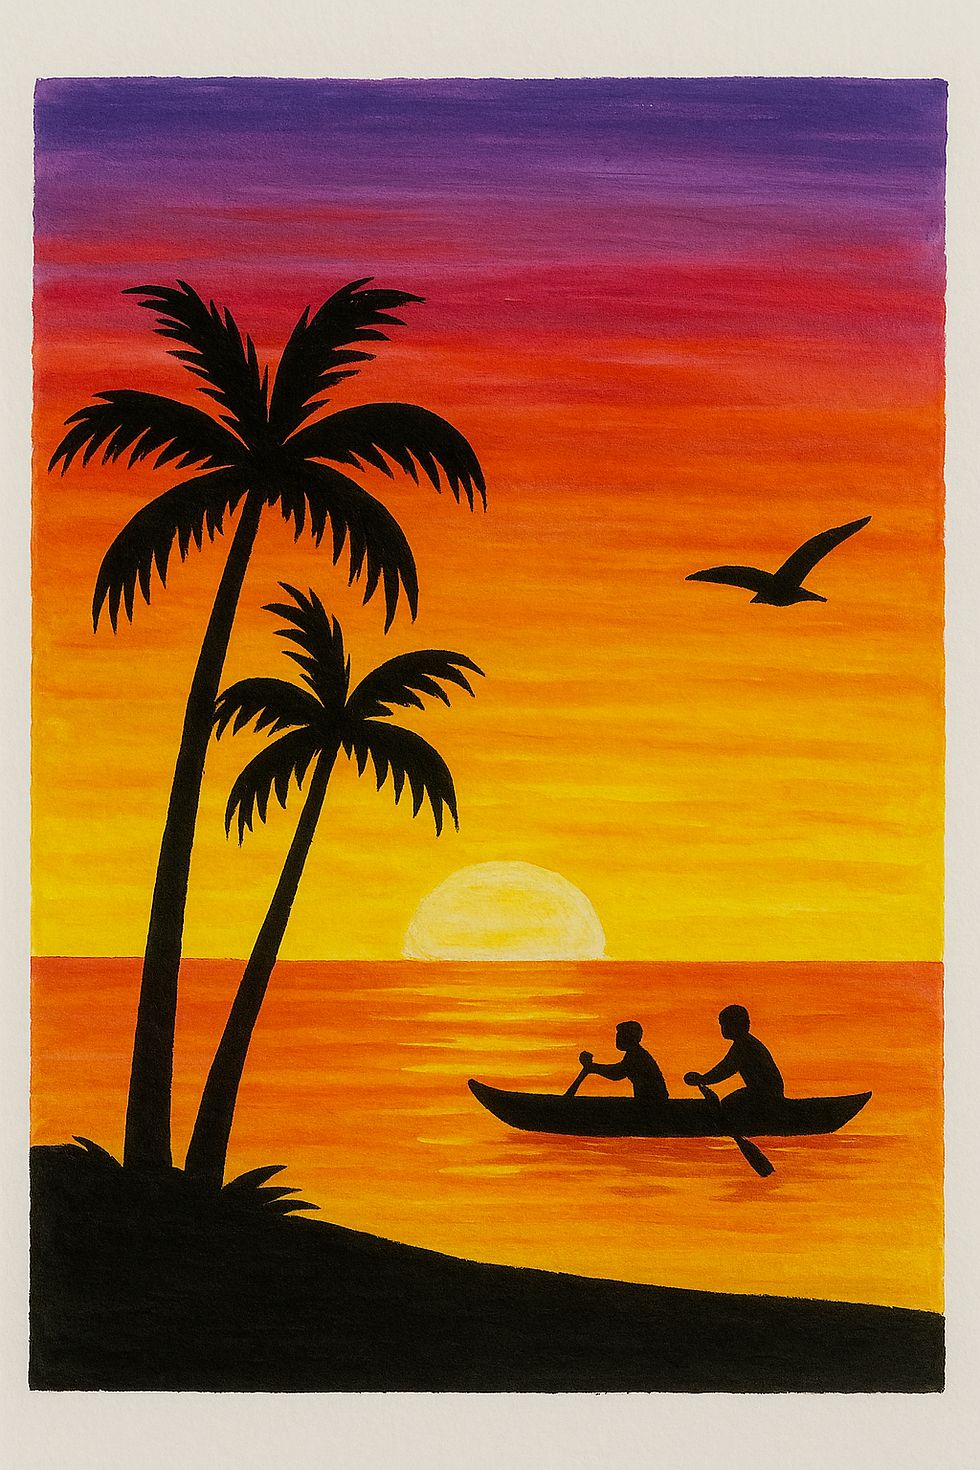
Sunset Silhouettes Craft
- Oct 2, 2025
- 1 min read
Supplies
White A4 paper or card (watercolour paper works best).
Paints in warm colours (yellow, orange, red, purple, pink).
Paintbrushes or sponges.
Pre-cut black card silhouettes (palm trees, canoes, people, huts, birds, etc.).
Glue sticks or PVA glue.
Optional: Glitter or gold paint for highlights.
Steps
Create the Sunset Background
Give each child a piece of white paper.
Using paint or sponges, blend warm colours (yellow at the bottom → orange → red → purple at the top) to create a sunset sky.
Encourage kids to overlap colours slightly for smooth blending.
Allow to dry.
Add the Silhouettes
Provide pre-cut black paper shapes (trees, canoes, huts, birds).
Children choose and arrange their silhouettes onto the sunset background.
Once happy, glue them down firmly.
Final Touches
Optional: add a strip of black card across the bottom for “ground/ocean.”
Kids can dab on gold or glitter paint for “sun reflection” if desired.
Other Information
Works well as a display project – hang several side by side to look like one big sunset mural.
Can be adapted for any Pacific island theme (canoes for Tonga, palm trees for Samoa, huts for Fiji, etc.).
Great for all ages – younger kids focus on painting and placing shapes, older kids can arrange more detailed silhouettes.


Comments